The Father of Modern Beekeeping
As we approach Fathers’ Day at Wildflower Meadows, we want to take this opportunity to honor the “Father of Modern Beekeeping.”
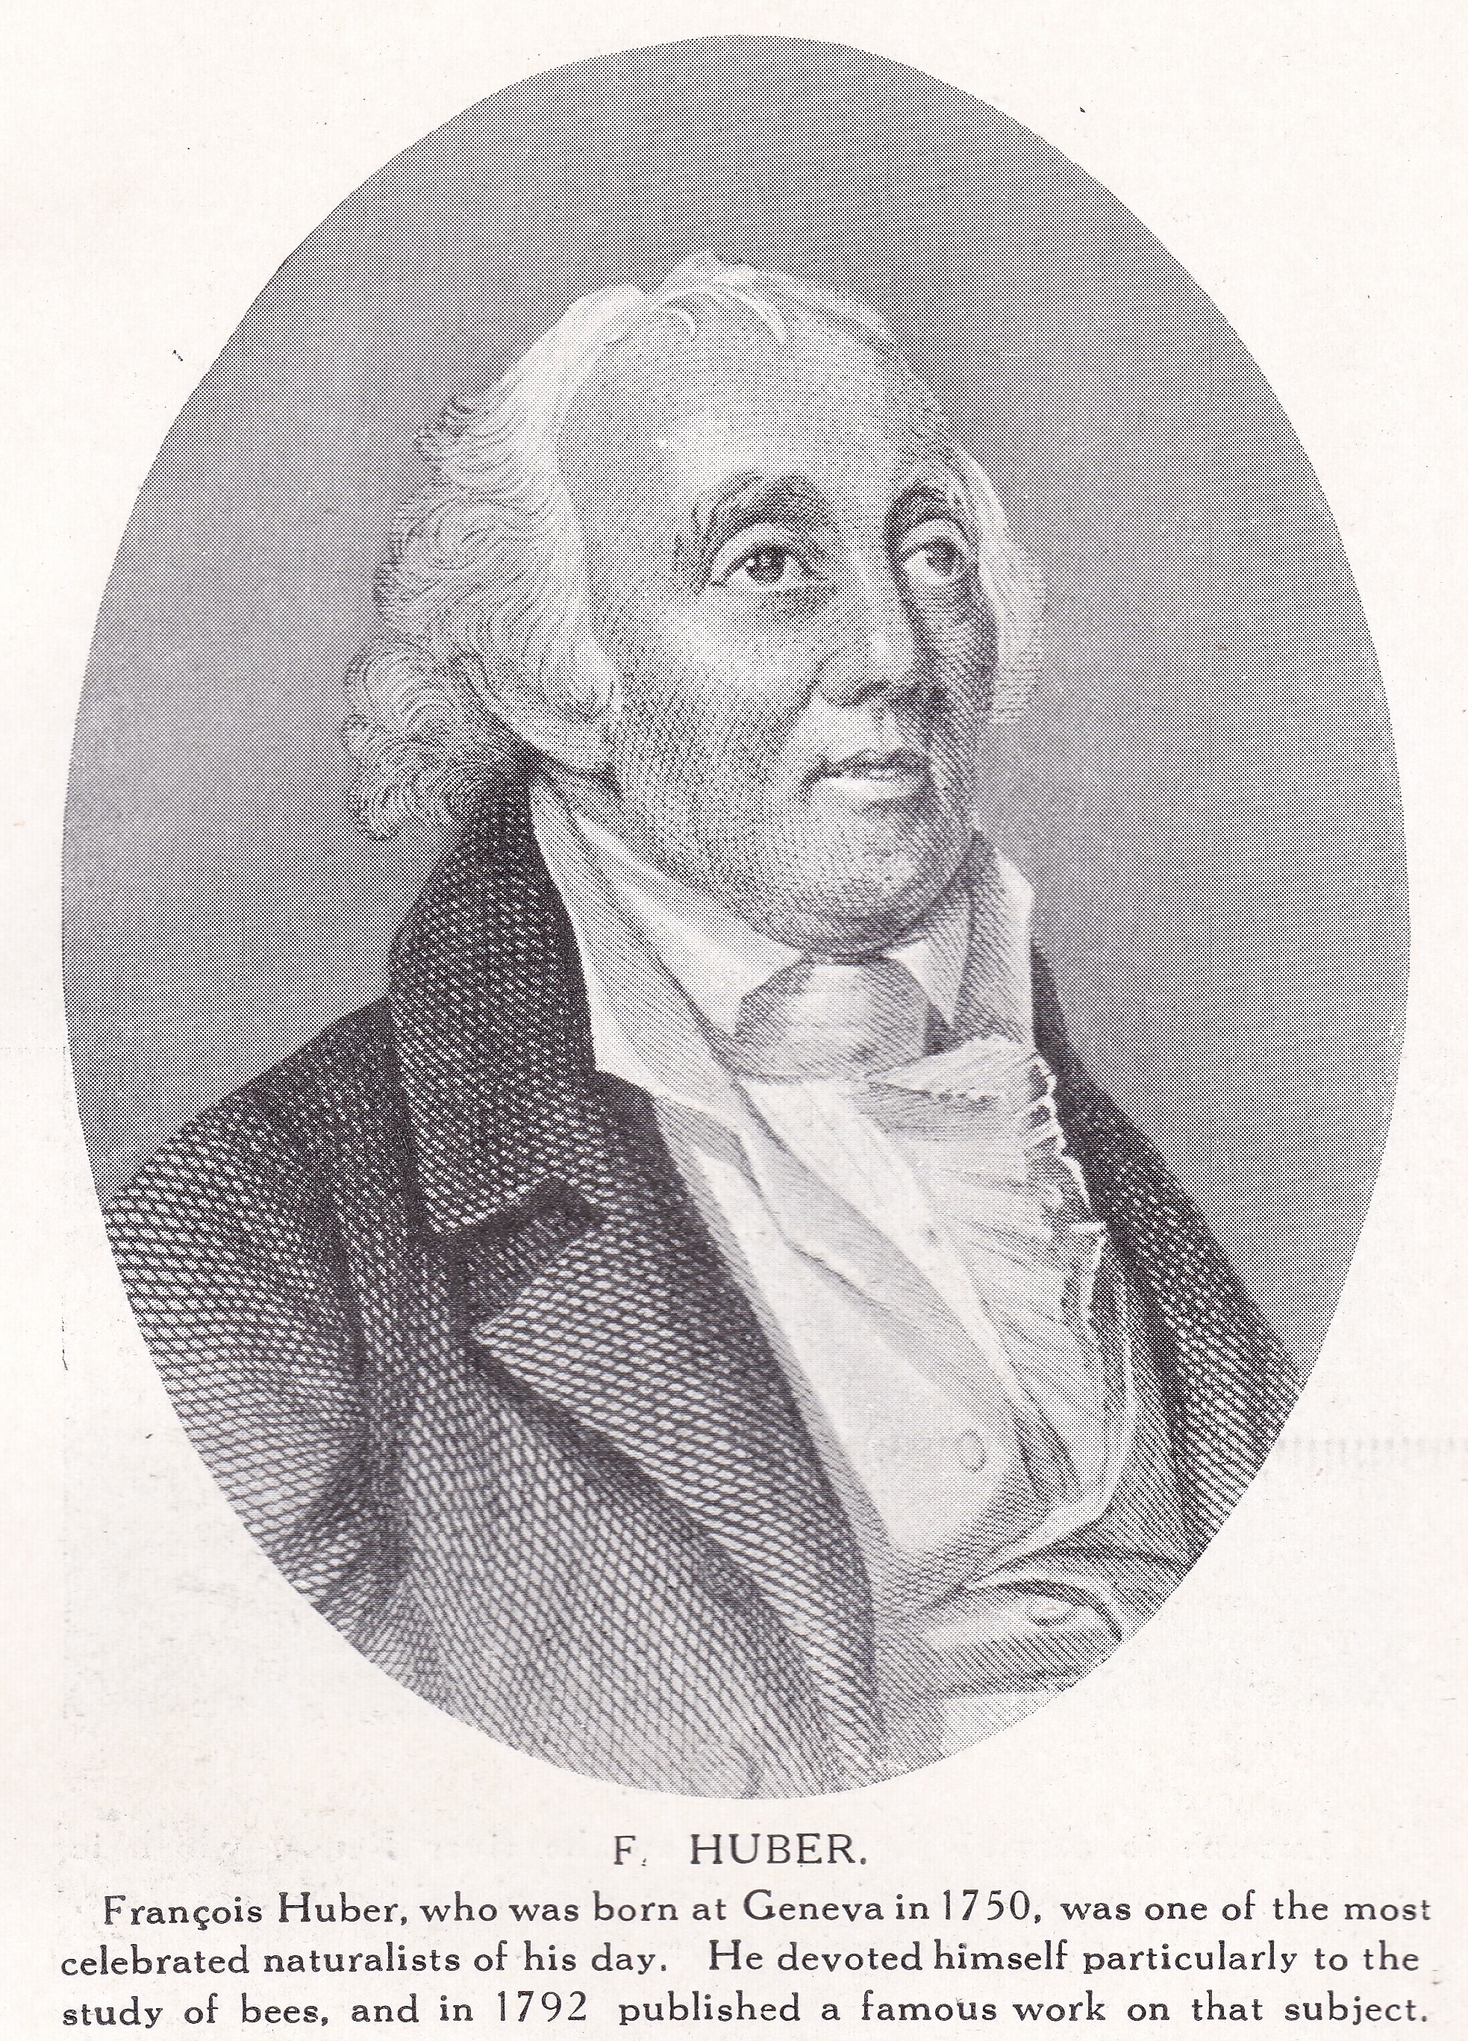
François Huber (1750-1831) was a Swiss naturalist and entomologist who and widely considered the father of modern beekeeping. Huber’s most important contribution to beekeeping was the development of the “leaf hive.” This hive allowed him to observe the behavior of honey bees without disturbing the hive. The leaf hive consisted of a series of frames that could be removed from the hive without destroying the comb. This allowed Huber to study the development of the brood, the production of honey and wax, and the behavior of the queen bee.
Before François Huber invented the leaf hive in 1789, beekeeping was a much more difficult and haphazard practice. Beekeepers used a variety of hives, including skeps, log gums, and box hives. These hives were all fixed-comb hives, meaning that the bees built their combs directly on the walls of the hive. This made it difficult for beekeepers to inspect the hive or harvest the honey without destroying the comb.
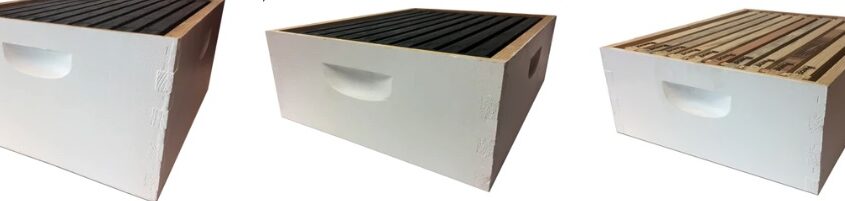
The invention of the leaf hive by François Huber was a major breakthrough in beekeeping. The leaf hive was a movable-frame hive, meaning that the frames could be removed from the hive without destroying the comb. This made it much easier for beekeepers to inspect the hive, harvest the honey, and manage the colony.
Huber’s work paved the way for the development of modern beekeeping methods. His leaf hive was the precursor to the Langstroth hive, which is the most widely used hive today. Langstroth hive is based on the same principle as the leaf hive, with frames that can be removed from the hive without destroying the comb. This allows beekeepers to inspect the hive and manage the colony without harming the bees.
Huber’s observations revolutionized our understanding of honey bees. He showed that the queen bee is the only female that can lay eggs, and that the drones (male bees) are only used for reproduction. He also showed that the worker bees are responsible for all of the other tasks in the hive, such as gathering food, caring for the young, and building the comb.
Huber’s work was published in two volumes, “New Observations on Bees” (1809) and “Further Observations on Bees” (1814). These books were translated into many languages and became essential reading for beekeepers around the world. Today’s beekeepers owe much to François Huber. His pioneering research laid the foundation for modern beekeeping and helped to make honey bees a valuable part of our ecosystem.