Why Bees Hang Out: A Summertime Phenomenon
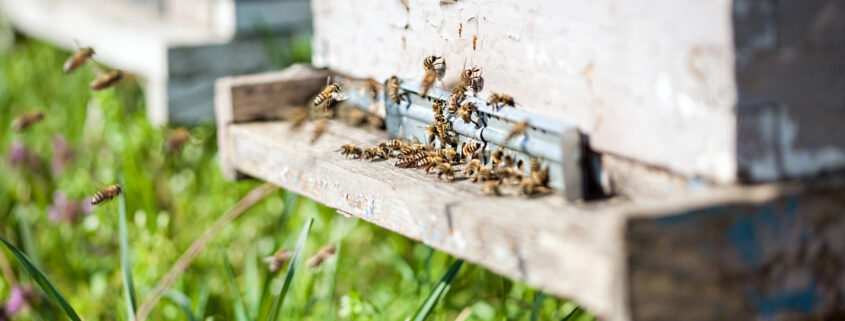
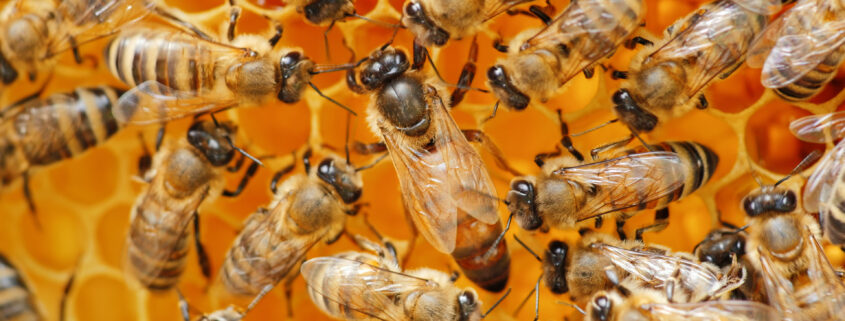
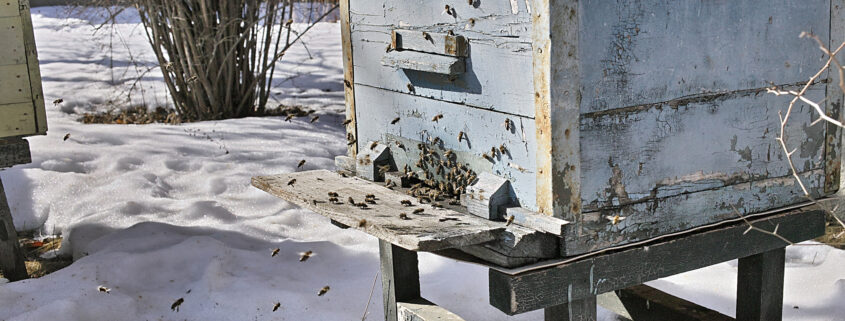
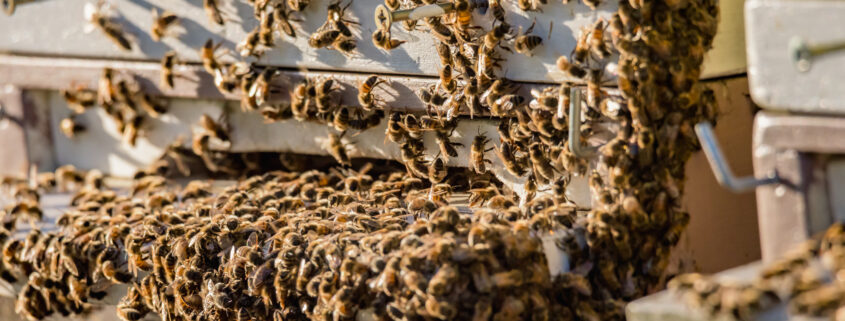
As the summer sun reaches its peak and temperatures climb, beekeepers might notice a curious phenomenon: bees congregating outside the hive entrance, seemingly reluctant to go inside. While this behavior may initially spark alarm, it’s actually a completely normal beekeeping observation and nothing to worry about.
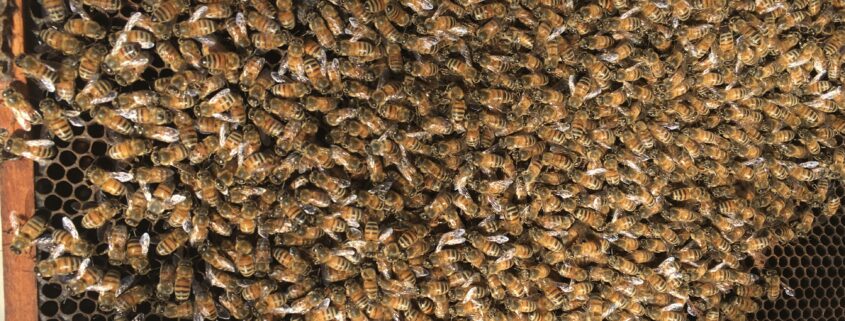
Imagine the hive as a bustling city during a heatwave. With a large population of bees packed together, the air inside can become stifling and uncomfortable. To combat this, bees instinctively seek cooler temperatures outside the hive. It’s their way of staying cool and ensuring the survival of the colony.
Bees are ingenious creatures, and they possess their own unique cooling system. They act like miniature swamp coolers, collecting water and regurgitating it on the underside of the hive lid. By fanning this water vigorously, they create a cool breeze that circulates throughout the hive. However, this process becomes less effective when the hive is overcrowded. By venturing outside, bees create more space for the cool air to flow, ensuring optimal comfort for everyone inside.
On late summer nights or days without a honey flow, bees can be found hanging out outside simply because they have nowhere else to be. When it’s too dark to fly or there’s no nectar to collect, the foragers stay home, contributing to a temporary overcrowding situation.
After a beekeeper harvests a honey super, the bees may find themselves with less space than usual. This can lead to temporary congestion and encourage some bees to hang out outside for a while. Who knows, maybe bees simply enjoy basking in the warmth of a summer day just like we do!
While this behavior might seem unusual at first, it’s important to remember that bees are highly adaptive creatures with sophisticated instincts. Seeing bees hanging out outside the hive during the summer months is simply a normal part of beekeeping and not a sign of any underlying problem.
So next time you see your bees enjoying the summer sunshine outside their hive, remember they’re just practicing their natural cooling techniques or taking a well-deserved break. Let them be and enjoy the fascinating ways these amazing creatures adapt to their environment.