From Egg To Honeybee – An Amazing 21 Days
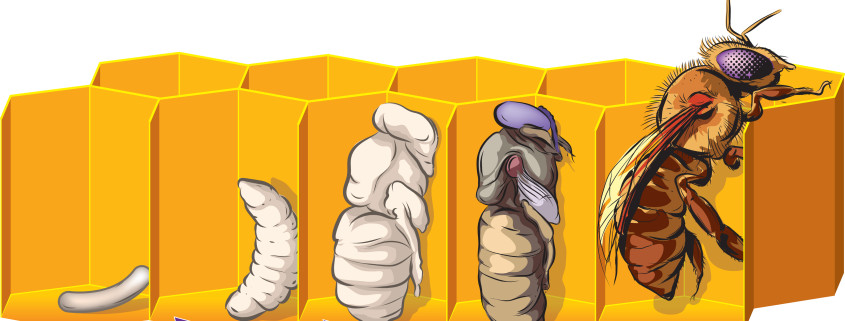
It boggles the mind to think that in a mere 21 days, an egg can become a tiny larva, then a pupa, and then a worker honeybee.
From Egg to Worker Honey Bee:
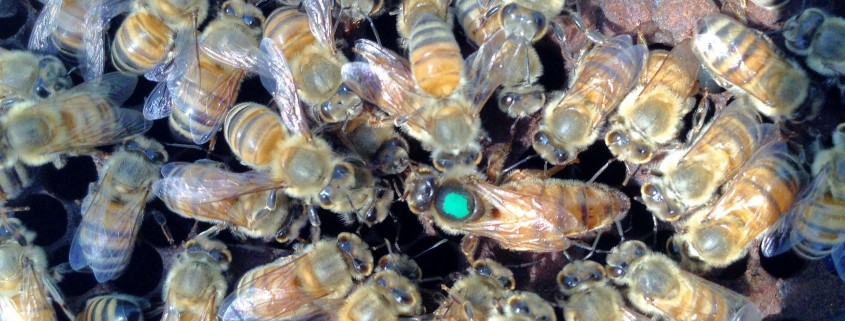
- Day 0: The worker bees clean out a cell of honeycomb and the queen bee lays a fertilized egg in it.
- Days 1 to 3: The egg sits in a honeycomb cell kept warm (approximately 93º Fahrenheit) amidst the brood nest. It will lose approximately 30% of its weight during this incubation period.
- Day 4: The egg hatches into a larva.
- Days 4 to 9: The nurse bees feed the larva worker jelly (produced by the glands of nurse bees), and later pollen and honey, continuing to keep the larva warm and moist. The larva eats between 150 to 800 times per day, growing at an astonishing speed.
- Day 9: The larva now weighs approximately 900 times the weight of the original egg!
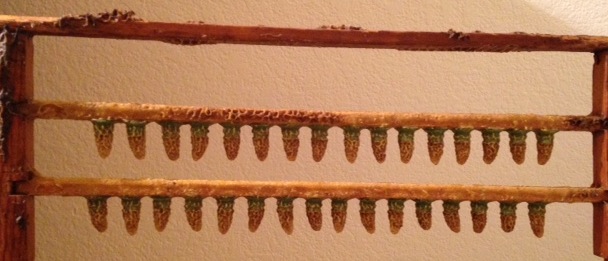
- Day 9: The worker bees seal the larva. The larva is now about to become a pre-pupa.
- Days 10-21: The pre-pupa goes through tremendous changes over these 12 days, becoming a pupa, and gradually taking the shape of a bee. The skin of the pupa darkens near the end of this process and on the final day . . .
- Day 21: A bee emerges. We think of this as a day old bee, but it really is a 21 day-old insect.