Bee Space
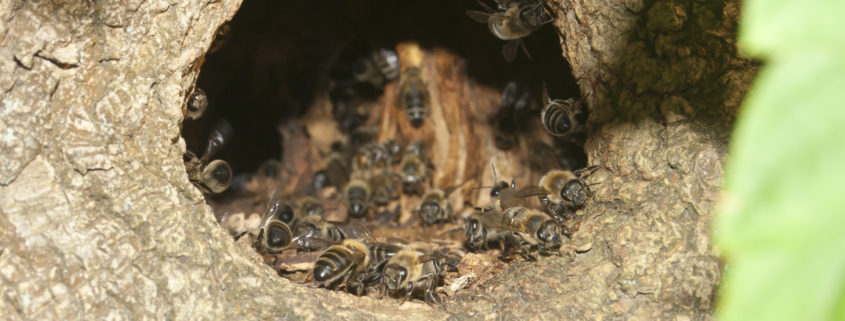
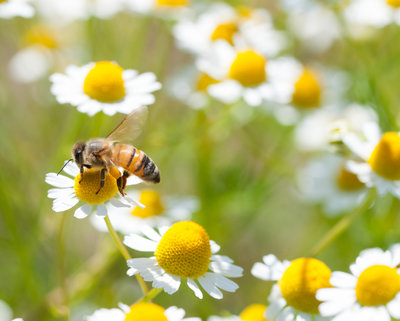
Honeybees are curious creatures that live in world of standardized precision. No matter the race of honeybee, or location in which they reside, their individual honeycomb cells are all constructed in a standard hexagonal shape, an approximate 5.2mm dimension, that is the same the world over. Their dance and communication methods are also universal across the entire species. What’s even more astonishing, is that the space that they inhabit between their honeycombs is universally standardized and completely precise, regardless of any other characteristics of the hive or of the bees themselves.
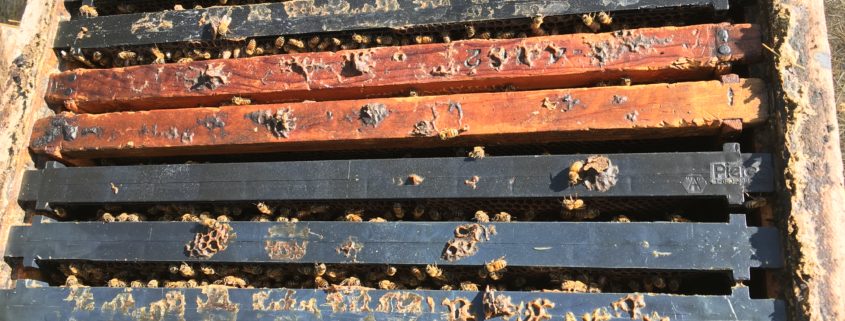
This space between honeycombs is called bee space. Bee space needs to be larger than 4.5mm and less than 9.0mm – no matter what! Honeybees, being creatures of precision, will not tolerate any space outside of this range. If the space between combs gets too close (less than 4.5mm) the bees will close the gap, usually sealing it with propolis. But if the gap becomes too wide (greater than 9mm), the bees will build additional honeycomb to bring the gap back to the acceptable and precise space that they desire.
As experienced beekeepers, this concept of bee space seems obvious and intuitive to us. We know that if we leave too much of a gap between the frames of our hives, our bees will quickly fill this gap with beeswax, a mess of what we call “burr comb.” This burr comb is actually just the bees’ natural drive to bring their bee space back to precision.
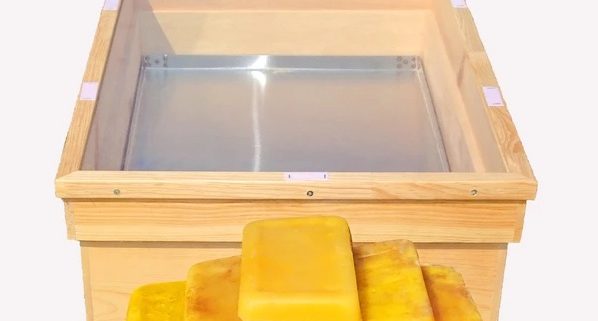
While this concept of bee space seems so obvious to us today, it is hard to believe that this was not always the case. It was L.L. Langstroth, the “Father of American Beekeeping,” who, back in 1852, intuited this hypothesis. After he realized this concept, he took his thinking one step further with the question, “what if he could design a beehive that had the perfect bee space in all directions?” This led to the standardized, square hive body that has become the backbone to America’s – and the world’s – beekeeping profession. We call our hive bodies “Langstroth hives,” because they were invented by Langstroth to take into account the perfect bee space.
Every space in a modern hive is more or less standardized to accommodate bee space. We may not realize it, but what keeps our bees from connecting the tops of the frames to the lid of the beehive is the bee space that is built into the construction of the hive body. All modern hive body boxes are also designed so that the frames hang about 8mm short of the bottom of the box. This bee space gap is the perfect bee space that enables us beekeepers to remove or pry open a hive box with few consequences; such as easily removing lids, bottoms, and frames, all without disrupting the construction of the hive. In addition, the edges of the side combs always sit about 8mm from the inside of the wooden box, and the tops of each frame hang about 8mm from the top of the box. In fact, our Langstroth bee boxes are a marvel of precision, with bee space taken into account in all aspects of the construction.
Of course, it really is the bees themselves that drive us humans to this level of precision, as they will not tolerate inconsistency and imprecision. They are world-class engineers, and demand the very same from us beekeepers!