Queenlessness
For most of its life, a honeybee colony has an active and well-accepted queen bee, which the colony rallies around. The queen herself, with her unique pheromone signature, is a key component of binding a colony together.
There are times, however, when a colony finds itself without a queen bee. This is known as queenlessness.
A honeybee colony can lose a queen for several reasons. Like any living creature, a queen honeybee is vulnerable to sickness, injury, old age, etc. But queen honeybees, being insects, are also vulnerable to the peculiarities of the insect world. Sometimes a colony intentionally kills its queen due to a disruption in pheromone signatures or some other environmental stress. Sometimes another virgin queen will appear—perhaps the colony raised another queen bee. An eventual fight to the death is almost guaranteed if a virgin queen emerges.
From both the beehive’s and beekeeper’s perspectives, queenlessness is precarious. The colony’s days are numbered if it cannot get a queen going. Time is of the essence. The longer a colony remains queenless, the greater its odds of perishing become.
When a colony suddenly goes queenless, it has only four or five days to raise a new queen. A queenless colony needs young worker bee larvae to raise a new queen. Once a queen is lost, there remains only a four- or five-day period in which young worker larvae will be present in the hive. After this period, all the larvae will be too mature for queen-raising.
A honeybee colony detects queenlessness when the queen’s pheromone disappears. This happens amazingly quickly. It usually takes a colony only about four to five hours to discover that no pheromone is being shared and that the colony is now without a queen. This is when the colony begins an agitated buzzing sound known as a queenless roar. Likely, this roar is an additional and urgent signal that queen-rearing must start, and it must begin immediately.
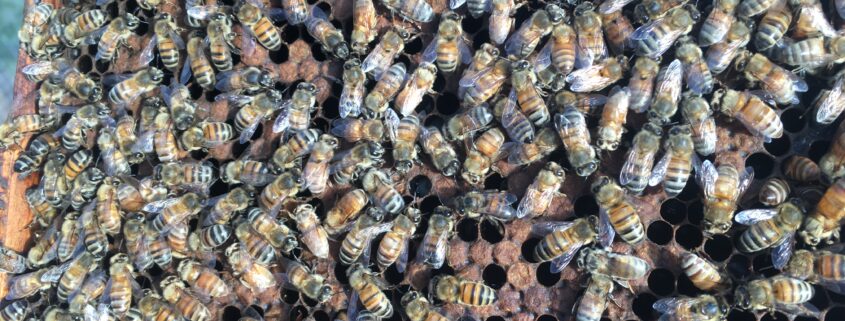
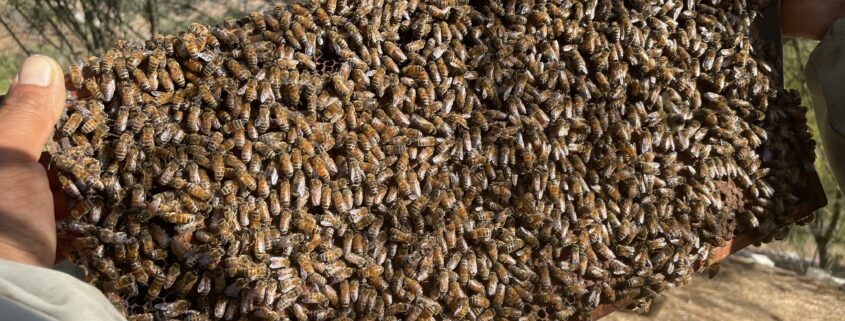
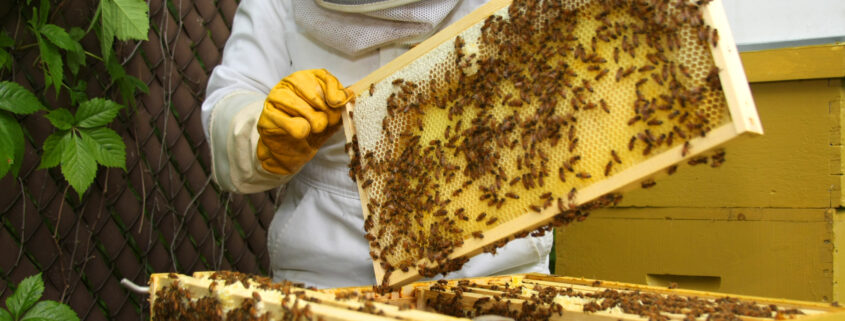
An experienced beekeeper can use this telltale roar (or its absence) as an essential tool when conducting a hive inspection. Another telltale sign of queenlessness is the disorganization of the bees. The bees have little to rally around in a colony with no queen and, eventually, no larvae. The colony has no larvae to feed, so the nurse bees wander around aimlessly.
As part of any bee inspection, a beekeeper should always be on the lookout for queenlessness and its telltale signs. Here at Wildflower Meadows, our beekeepers know that anytime a colony is roaring, or the bees appear disorganized, a further inspection is in order.

